Sound Sorted: A Budget-Friendly Guide to Acoustic Treatment for UK Homes
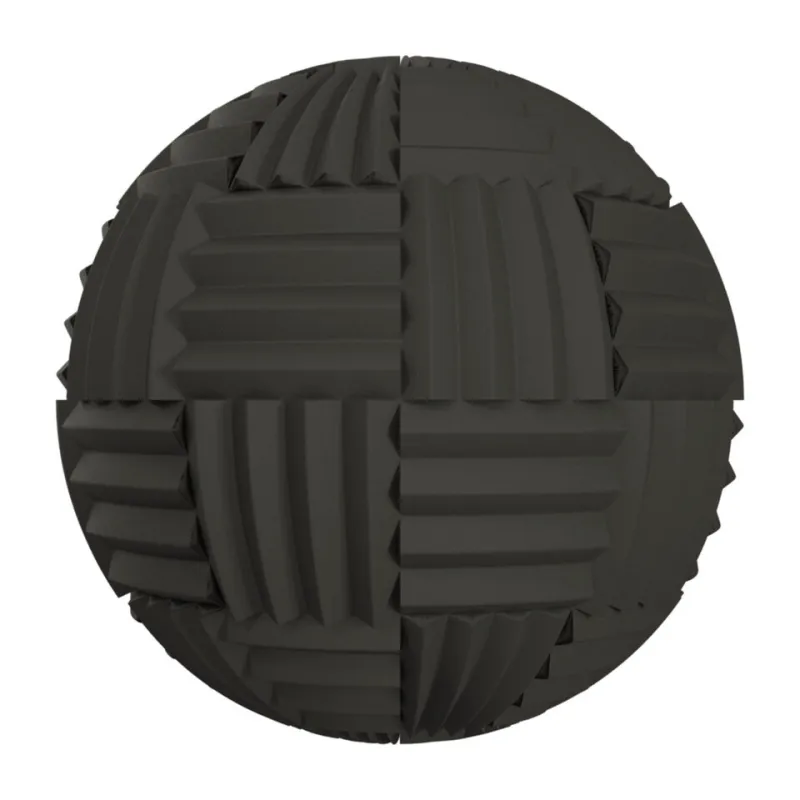
Photo: ambientCG.com / Lennart Demes, CC0, via Wikimedia Commons
Let's be honest about something: most of us in the UK aren't recording in purpose-built studios. We're working in spare bedrooms, garden sheds, converted lofts, and the occasional understairs cupboard. And while that's part of the charm of the modern home studio scene, it does come with some genuinely tricky acoustic challenges.
The good news is that you don't need to spend thousands — or gut your rented flat — to get your room sounding significantly better. What you do need is a clear understanding of what the problems actually are, and a practical approach to tackling them in order of priority.
This guide is built specifically for UK homes. That means addressing the realities of terraced houses, thin partition walls, awkward Victorian room proportions, and the very reasonable concern of keeping your deposit intact.
First, Understand What You're Actually Solving
Acoustic treatment and soundproofing are not the same thing, and confusing the two is one of the most common mistakes people make when setting up a home studio. Soundproofing is about stopping sound travelling between spaces — enormously expensive and structurally complex to do properly. Acoustic treatment is about controlling how sound behaves within your room — managing reflections, reducing flutter echo, and taming low-frequency build-up.
For most home producers, acoustic treatment is what you actually need. And it's far more achievable.
The three main problems you're solving are:
- Flutter echo — that ringy, splashy quality in untreated rooms, caused by parallel hard surfaces bouncing sound back and forth.
- Early reflections — sound bouncing off walls and reaching your ears a few milliseconds after the direct signal, smearing the stereo image and muddying transients.
- Low-frequency build-up — bass frequencies accumulating in corners and at specific room dimensions, creating peaks and nulls that make bass impossible to judge accurately.
The Unique Challenges of UK Housing
Terraced Houses and Noise Bleed
If you're in a terraced house — and a large proportion of UK homes are — noise bleed through party walls is a real concern. While you can't fully soundproof a shared wall without serious structural work, you can reduce transmission somewhat by decoupling furniture and equipment from the wall, adding mass (heavy bookshelves filled with books work surprisingly well), and avoiding recording late at night when ambient noise differences make bleed more noticeable.
For your own acoustic treatment on a party wall, thick broadband absorbers will help tame reflections without requiring any permanent fixings if you use freestanding frames.
Awkward Room Dimensions
Victorian and Edwardian rooms often have high ceilings and relatively narrow widths — not ideal acoustically, but workable. The key is identifying your room's modal frequencies (the resonant frequencies determined by its dimensions) and addressing them with bass trapping. Free online calculators like the one at amroc.io will give you a quick read on your room's worst-offending modes.
Modern new-build rooms tend toward lower ceilings and boxy proportions, which can create aggressive flutter echo. These rooms often benefit most from treatment on the ceiling and from diffusion on the rear wall.
Rental Restrictions
This is where a lot of UK home studio owners hit a wall — quite literally. If you're renting, you may not be able to put screws in the walls, let alone install permanent acoustic panels. But there are solid workarounds:
- Freestanding panel frames built from timber and filled with acoustic mineral wool can be positioned anywhere and taken with you when you move.
- Command strips and adhesive hook systems can support lighter acoustic foam tiles without damaging plaster — though be aware that foam alone is limited in what it treats.
- Heavy curtains and rugs are underrated. Floor-to-ceiling curtains on a bare wall absorb a surprising amount of high-mid and high-frequency energy. A large rug on a hard floor makes an immediate difference to flutter echo.
Building Your Treatment: Priority Order
Step 1: Tame Flutter Echo First
This is the quickest win and the most immediately audible improvement. Clap your hands sharply in the middle of an untreated room and listen for the ringy, metallic decay — that's flutter echo. Break up the parallel surfaces with any soft, irregular materials: bookshelves, sofas, curtains, hanging fabric. You don't need to cover every surface, just interrupt the bounce paths.
Step 2: Address Early Reflections at the Mix Position
Sit at your mix position and have someone hold a mirror flat against the side walls, moving it until you can see your speaker reflected in it. That's your first reflection point — and it's where a broadband absorber panel will have the most impact on your stereo imaging and mix clarity. Do the same on the ceiling above your listening position.
A panel of 100mm Rockwool RWA45 or Knauf Earthwool in a simple timber frame, covered in acoustically transparent fabric, costs around £20–£30 to build and performs as well as commercial panels costing ten times that.
Step 3: Bass Trap the Corners
Low frequencies accumulate in corners — particularly floor-to-ceiling corners. Floor-standing bass traps built with thick mineral wool (100–150mm) in the corners behind your speakers will make the most audible difference to your low-end accuracy. This is the treatment that makes mixing bass and kick drum decisions actually translate on other systems.
For UK sourcing, Rockwool and Knauf products are widely available from builders' merchants like Travis Perkins and Jewson, as well as online via Amazon and specialist acoustic suppliers.
Step 4: Consider the Rear Wall
The rear wall of your listening room — the one behind you as you mix — benefits from diffusion rather than pure absorption. Diffusion scatters sound energy in multiple directions rather than absorbing it, maintaining a sense of space and liveliness while reducing problematic reflections. Commercial diffusers can be expensive, but DIY quadratic diffusers built from MDF strips are a popular and effective alternative.
Measuring Without Expensive Equipment
You don't need a calibrated measurement microphone and a professional acoustic analyser to get useful data on your room. Room EQ Wizard (REW) is a free software tool that, combined with a budget measurement microphone like the Behringer ECM8000 (around £30), will give you frequency response graphs, RT60 decay times, and a waterfall plot showing exactly where your room's problem frequencies lie.
This is genuinely one of the most valuable things you can do before spending a penny on treatment. Measure first, treat second, then measure again to verify the improvement.
Recommended UK Sources for Materials
- GIK Acoustics Europe — ships to the UK, excellent range of ready-made panels and bass traps at fair prices
- Acousticmaterials.co.uk — UK-based supplier of mineral wool, diffusers, and covering fabric
- Travis Perkins / Jewson — for Rockwool and Knauf building products used in DIY panels
- eBay and Facebook Marketplace — second-hand acoustic foam, panels, and even full studio furniture regularly appears at significant discounts
Quick-Reference Budget Tiers
Under £50: Large rug, heavy curtains, rearranged bookshelves, DIY mineral wool panel for first reflection point.
£50–£200: Two to four DIY broadband panels, a pair of corner bass traps, REW setup with budget measurement mic.
£200–£500: Full first-reflection treatment, multiple corner traps, rear wall diffusion panel, GIK ready-made panels for a polished finish.
£500+: Comprehensive room treatment, cloud panel above mix position, professional acoustic measurement and tuning.
The Takeaway
Acoustics isn't glamorous, and it rarely makes it into gear-lust conversations. But if you're serious about the quality of what you're recording and mixing, there's simply no substitute for getting your room under control. The difference between an untreated and a properly treated space is night and day — and in most UK home setups, it's also the most cost-effective upgrade you can make.
Start with what you have, measure what you've got, and build from there. Your mixes will thank you for it.
For hands-on guidance, Recording Workshop UK offers dedicated acoustics modules as part of our studio setup courses — covering everything from room measurement to DIY panel builds, all grounded in the realities of working in a UK home.