Stop Blaming Your Gear: How to Track Down and Fix the Noises Ruining Your Home Recordings
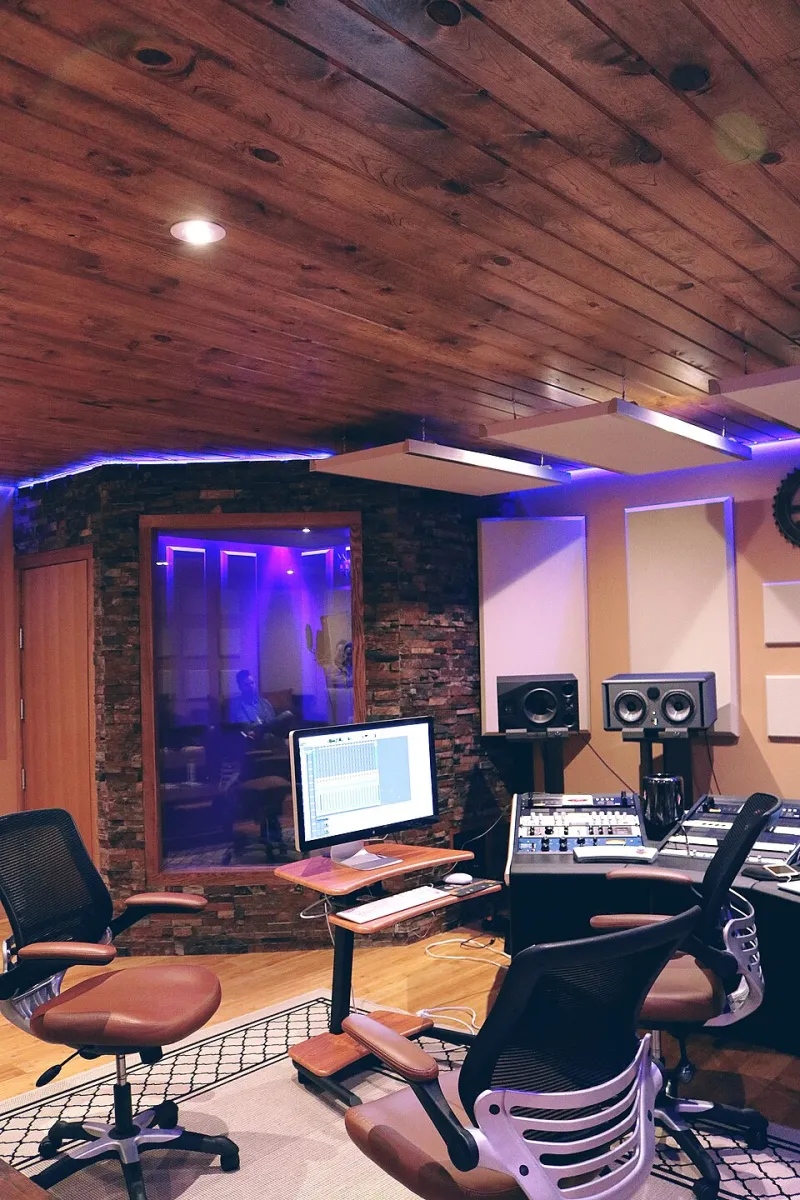
Photo: Shixart1985, CC BY 2.0, via Wikimedia Commons
You've listened back to your recording and something is just... off. Maybe there's a low hum lurking under everything. Maybe your vocals sound weirdly hollow. Maybe the whole thing just sounds dense and muddy no matter how you EQ it. Your first instinct might be to wonder if you need a better microphone, a nicer interface, or a proper acoustic treatment package.
Nine times out of ten, you don't. The problem — and the fix — is already within reach. Let's go hunting.
Start With a Systematic Approach
The worst thing you can do when troubleshooting audio problems is randomly tweak things hoping something improves. That way lies madness. Instead, treat it like a detective job: isolate, identify, then address.
The golden rule is the process of elimination. Record a silent track (nothing plugged in, nothing playing) and listen back at a high volume through headphones. What do you hear? A clean silence means your interface and signal chain are fine. Any noise at this stage points to your interface, your computer, or your power supply — not your microphone or your room.
From there, add elements back in one at a time: plug in your mic cable without the mic, then with the mic, then bring up the gain, then move to a different position in the room. Each step either introduces or eliminates the problem, and that tells you exactly where to look.
The 50Hz Hum: Britain's Most Common Recording Gremlin
If you're in the UK and you've got a low, persistent hum in your recordings, there's a very good chance it's mains hum sitting at 50Hz (or its harmonic at 100Hz). This is the frequency of the UK's electrical supply, and it bleeds into recordings through a phenomenon called a ground loop.
Ground loops happen when audio equipment is connected to mains power at multiple points, creating a loop that acts like an antenna for electrical interference. The fix is often simpler than you'd expect:
- Try a different mains socket — ideally one on a different circuit from your computer. Plugging your interface into a socket in another part of the room sometimes eliminates the problem entirely.
- Check your cables — cheap, unbalanced cables are particularly susceptible to picking up interference. If you're running long unbalanced runs, that's likely part of the issue.
- Use balanced connections wherever possible — XLR connections between your mic and interface are balanced, which is why they're standard in professional audio. If you're using unbalanced 6.35mm jack connections anywhere in your signal chain, that's a potential entry point for noise.
If you can't eliminate the hum at source, a free EQ plugin with a notch filter at 50Hz and 100Hz will surgically remove it without affecting much else. FabFilter's free trial is worth using for this, or simply use the built-in EQ in whatever DAW you're running.
Hiss and High-Frequency Noise
A constant hiss is usually one of three things: a gain staging problem, a cheap cable, or a microphone being pushed too hard.
Gain staging is where a lot of home recordists go wrong. If you're recording a quiet source (like an acoustic guitar or a soft vocal) with your interface gain cranked all the way up, you're amplifying the noise floor of your preamp along with the signal. The fix is to get your source closer to the microphone — halving the distance between your mouth and your mic roughly doubles the signal level, which means you can back off the gain and dramatically reduce hiss.
For checking your noise floor properly, download Spectrum Analyser (there are free VST versions of this available for every DAW) and look at where the noise energy sits. A flat-ish noise floor that rises towards the high frequencies is classic preamp hiss. A spike at a specific frequency points to interference from a specific source — a computer fan, a router, fluorescent lighting, and so on.
Fluorescent lights are a surprisingly common culprit in UK home studios — they emit electrical interference that condenser microphones are very good at picking up. Switch them off during recording sessions and use a lamp instead.
The Hollow Sound: Understanding Phase Issues
If your recordings sound thin, hollow, or like they're being played through a drain pipe, phase cancellation is a strong suspect. This happens when two similar signals are slightly out of time with each other, causing certain frequencies to cancel out rather than add together.
The most common cause in home recording is using two microphones without checking their phase relationship — for example, close-miking an acoustic guitar and using a room mic simultaneously. If the two mics aren't positioned carefully, they'll be receiving the same sound at slightly different times, and some frequencies will cancel.
In your DAW, most audio clips have a phase invert button (usually shown as a Ø symbol). Try flipping the phase on one of your tracks and listen to whether it sounds fuller. If inverting makes things worse, you're in phase. If it sounds noticeably better, you've found your problem.
Even with a single microphone, phase issues can arise from reflections in your room. Sound bouncing off a hard wall and arriving at the microphone a few milliseconds after the direct sound creates a comb filtering effect — that hollow, unnatural character. The solution here is acoustic treatment, but you don't need to buy anything. Moving your recording position away from parallel walls, hanging a thick duvet behind you, or even just repositioning your mic can make a substantial difference.
Muddy Low-End: A Room Problem, Not a Mix Problem
This one catches a lot of people out. If your recordings consistently sound thick and indistinct in the bass frequencies — even before you've touched the mix — the issue is almost certainly your room, not your microphone or interface.
Small rooms have a particular problem with low-frequency buildup in corners, where bass energy accumulates and creates a misleading picture of how much low-end is actually in your recording. You might be recording in a corner without realising how much it's colouring your sound.
The quickest free fix is to move your recording position away from corners and away from parallel walls. Even half a metre of repositioning can change the frequency response of what your microphone hears quite dramatically. Record a test clip in several different spots around your room and compare them back on headphones — the differences will likely surprise you.
For monitoring, if you're mixing on speakers in the same problematic room, you'll keep making the same EQ mistakes because your reference point is skewed. Mixing on closed-back headphones — even inexpensive ones — often gives a more accurate picture of your low-end than untreated monitors in a difficult room.
Free Tools Worth Bookmarking
You don't need to spend anything to diagnose most of these problems properly. A few genuinely useful free resources:
- Room EQ Wizard (REW) — free acoustic measurement software that can show you exactly what your room is doing to your sound. It requires a calibrated microphone to be fully useful, but even running it with your existing mic gives useful information.
- Voxengo SPAN — a free spectrum analyser plugin that works in every major DAW. Essential for identifying noise sources and frequency problems.
- Audacity — free, open-source audio editor that's great for isolation testing and checking individual tracks in detail.
The Mindset Shift
Here's the thing that separates producers who improve quickly from those who spin their wheels: the willingness to treat problems as learning opportunities rather than annoyances to be solved by spending money. Every noise you track down teaches you something about signal flow, acoustics, or electrical interference that no piece of gear can teach you.
Your bedroom studio has gremlins. So does every studio. The difference is knowing where to look.